SELECTED PROJECTS.
Rather than treating each installation as a checklist, I approached them as hardware engineering problems—identifying faults, validating assumptions, and iterating until the board behaved exactly as expected. Before diving into the projects, here are the reference motherboard layouts.
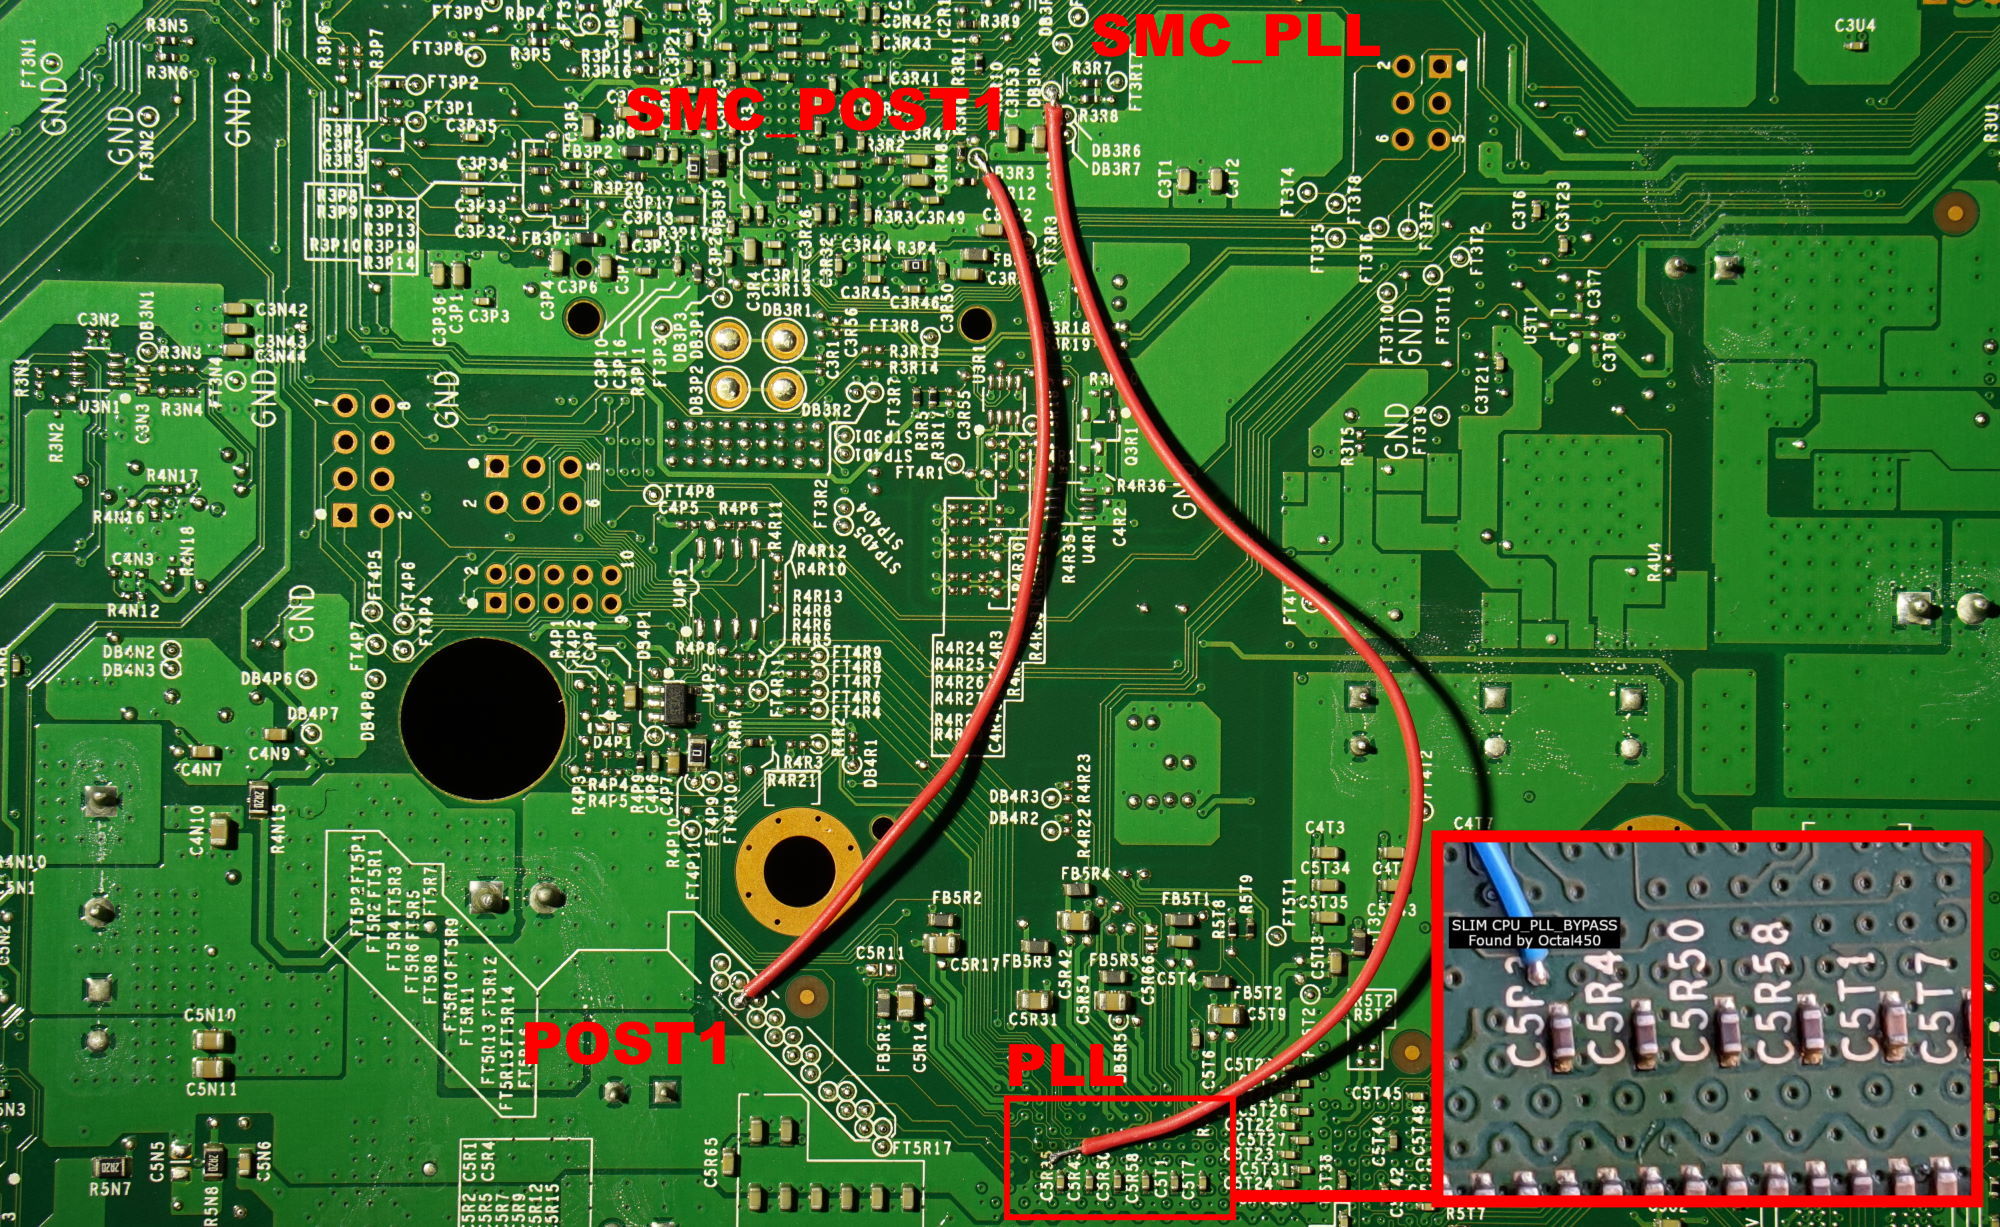
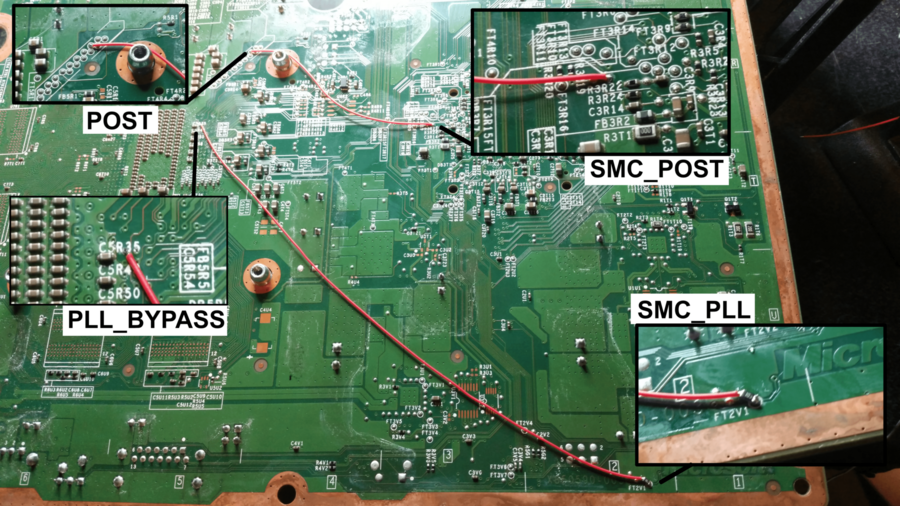
Corona 16MB (v3/v4) with POSTFIX
PROJECT 01My first RGH3 installation was on a Corona 16MB motherboard that required a POSTFIX adapter to recover the POST_OUT signal, which Microsoft had removed on later Corona motherboard revisions.
At the time, my soldering experience was limited. Working around the tiny PLL_BYPASS point, CPU_RST routing, and POSTFIX installation quickly exposed how unforgiving Xbox 360 motherboard work is. Signal integrity on RGH3 depends heavily on solder quality, wire routing, and mechanical stability.
Looking back, the failure wasn't caused by RGH3 itself—it was the result of inconsistent solder joints, poor flux control, inadequate wire management, and inexperience working with fine-pitch motherboard traces.
The Takeaway: Although unsuccessful, this console became my primary learning platform for NAND dumping, ECC generation, XeLL boot flow, and understanding the complete RGH boot sequence.
Corona 16MB (First Successful RGH3)
PROJECT 02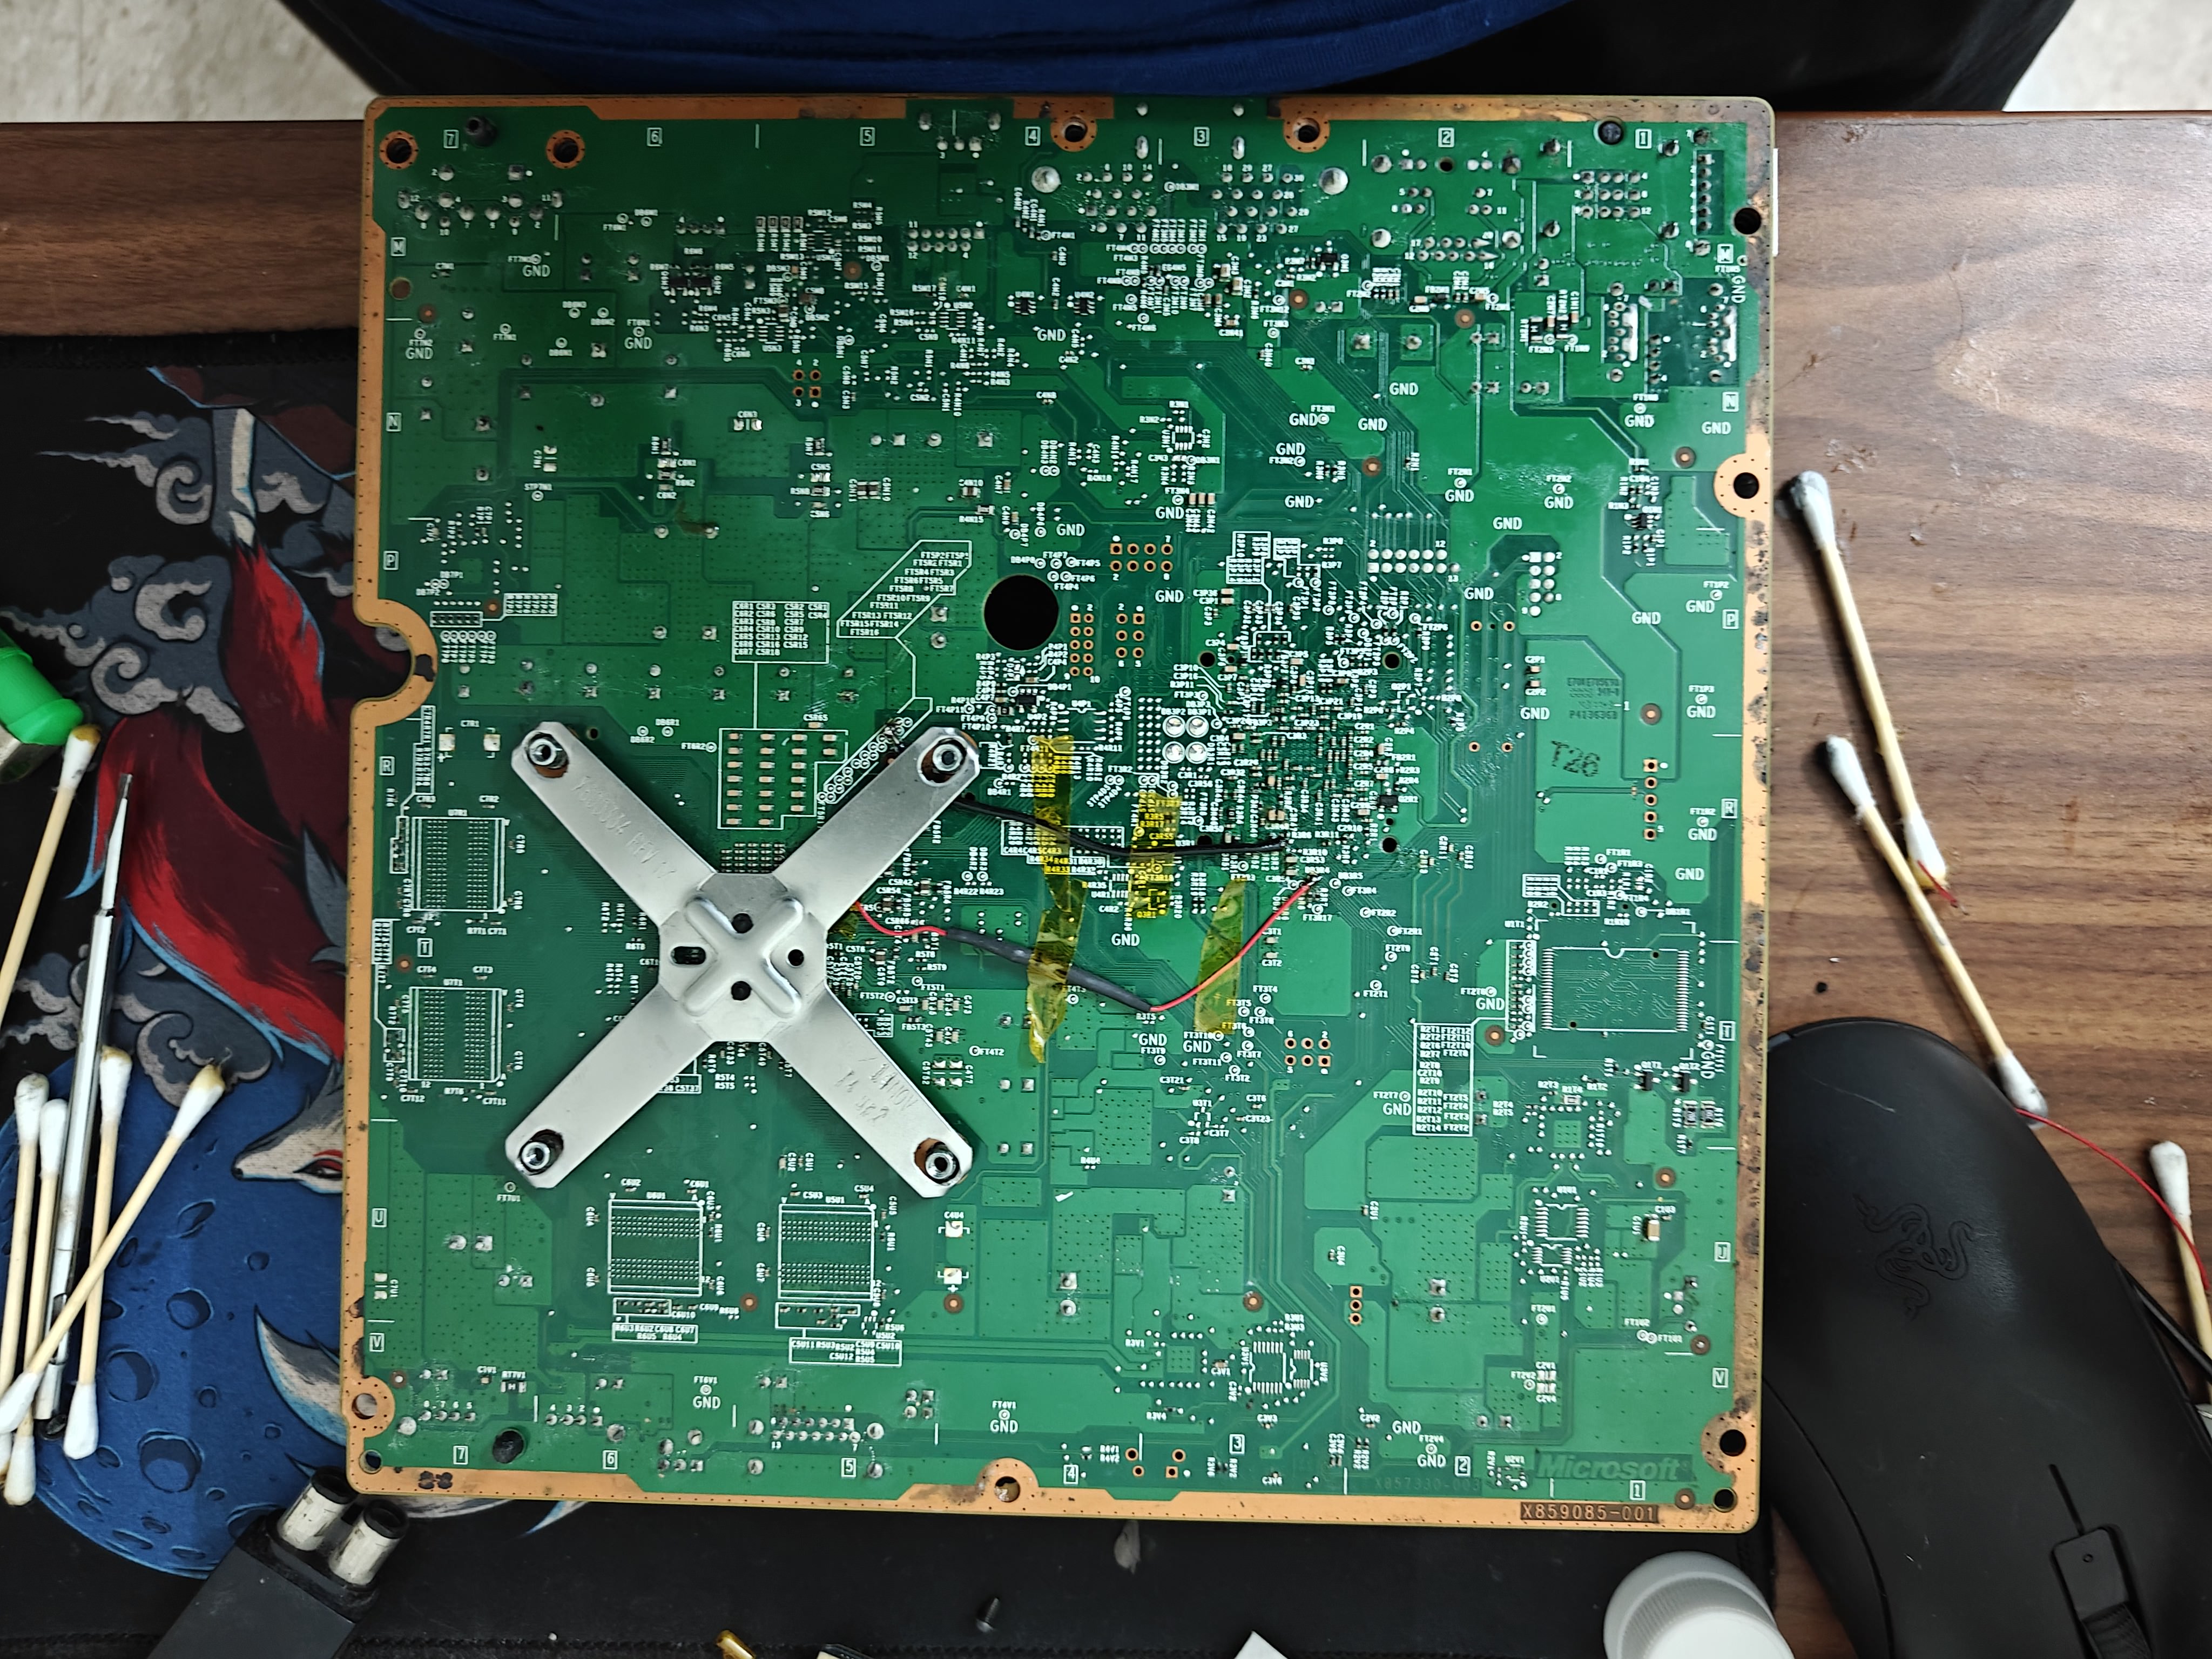
The next Corona 16MB became my first fully successful RGH3 installation. Initial NAND dumps matched perfectly, ECC flashed successfully, XeLL booted, CPU Key was obtained, and FreeBOOT was generated without issue.
However, the hardware wasn't completely stable initially, exhibiting intermittent behaviors:
- Random power cycling and spontaneous shutdowns
- Occasional failure to power on
- Inconsistent glitch performance
Since the NAND image verified correctly, attention shifted toward the hardware. The PLL_BYPASS connection immediately became the primary suspect. One mistake stood out—I had used wire approaching 18 AWG for the PLL line. Besides being physically excessive, the wire introduced unnecessary stiffness and continuous mechanical stress on one of the smallest solder pads on the motherboard.
Continuity testing appeared normal, but slight movement of the wire changed the console's behavior, indicating a mechanically unstable joint rather than an electrical short.
The repair involved:
- Removing the entire PLL connection
- Replacing it with 30 AWG Kynar wire
- Rebuilding the solder joint under proper magnification
- Shortening the routing and minimizing strain on the pad
The improvement was immediate. Glitch timings became consistent, cold boots stabilized, and the intermittent shutdown issue disappeared entirely. This repair fundamentally changed how I approached signal wiring. On RGH3, the installation quality matters just as much as the exploit itself.
Trinity Motherboard
PROJECT 03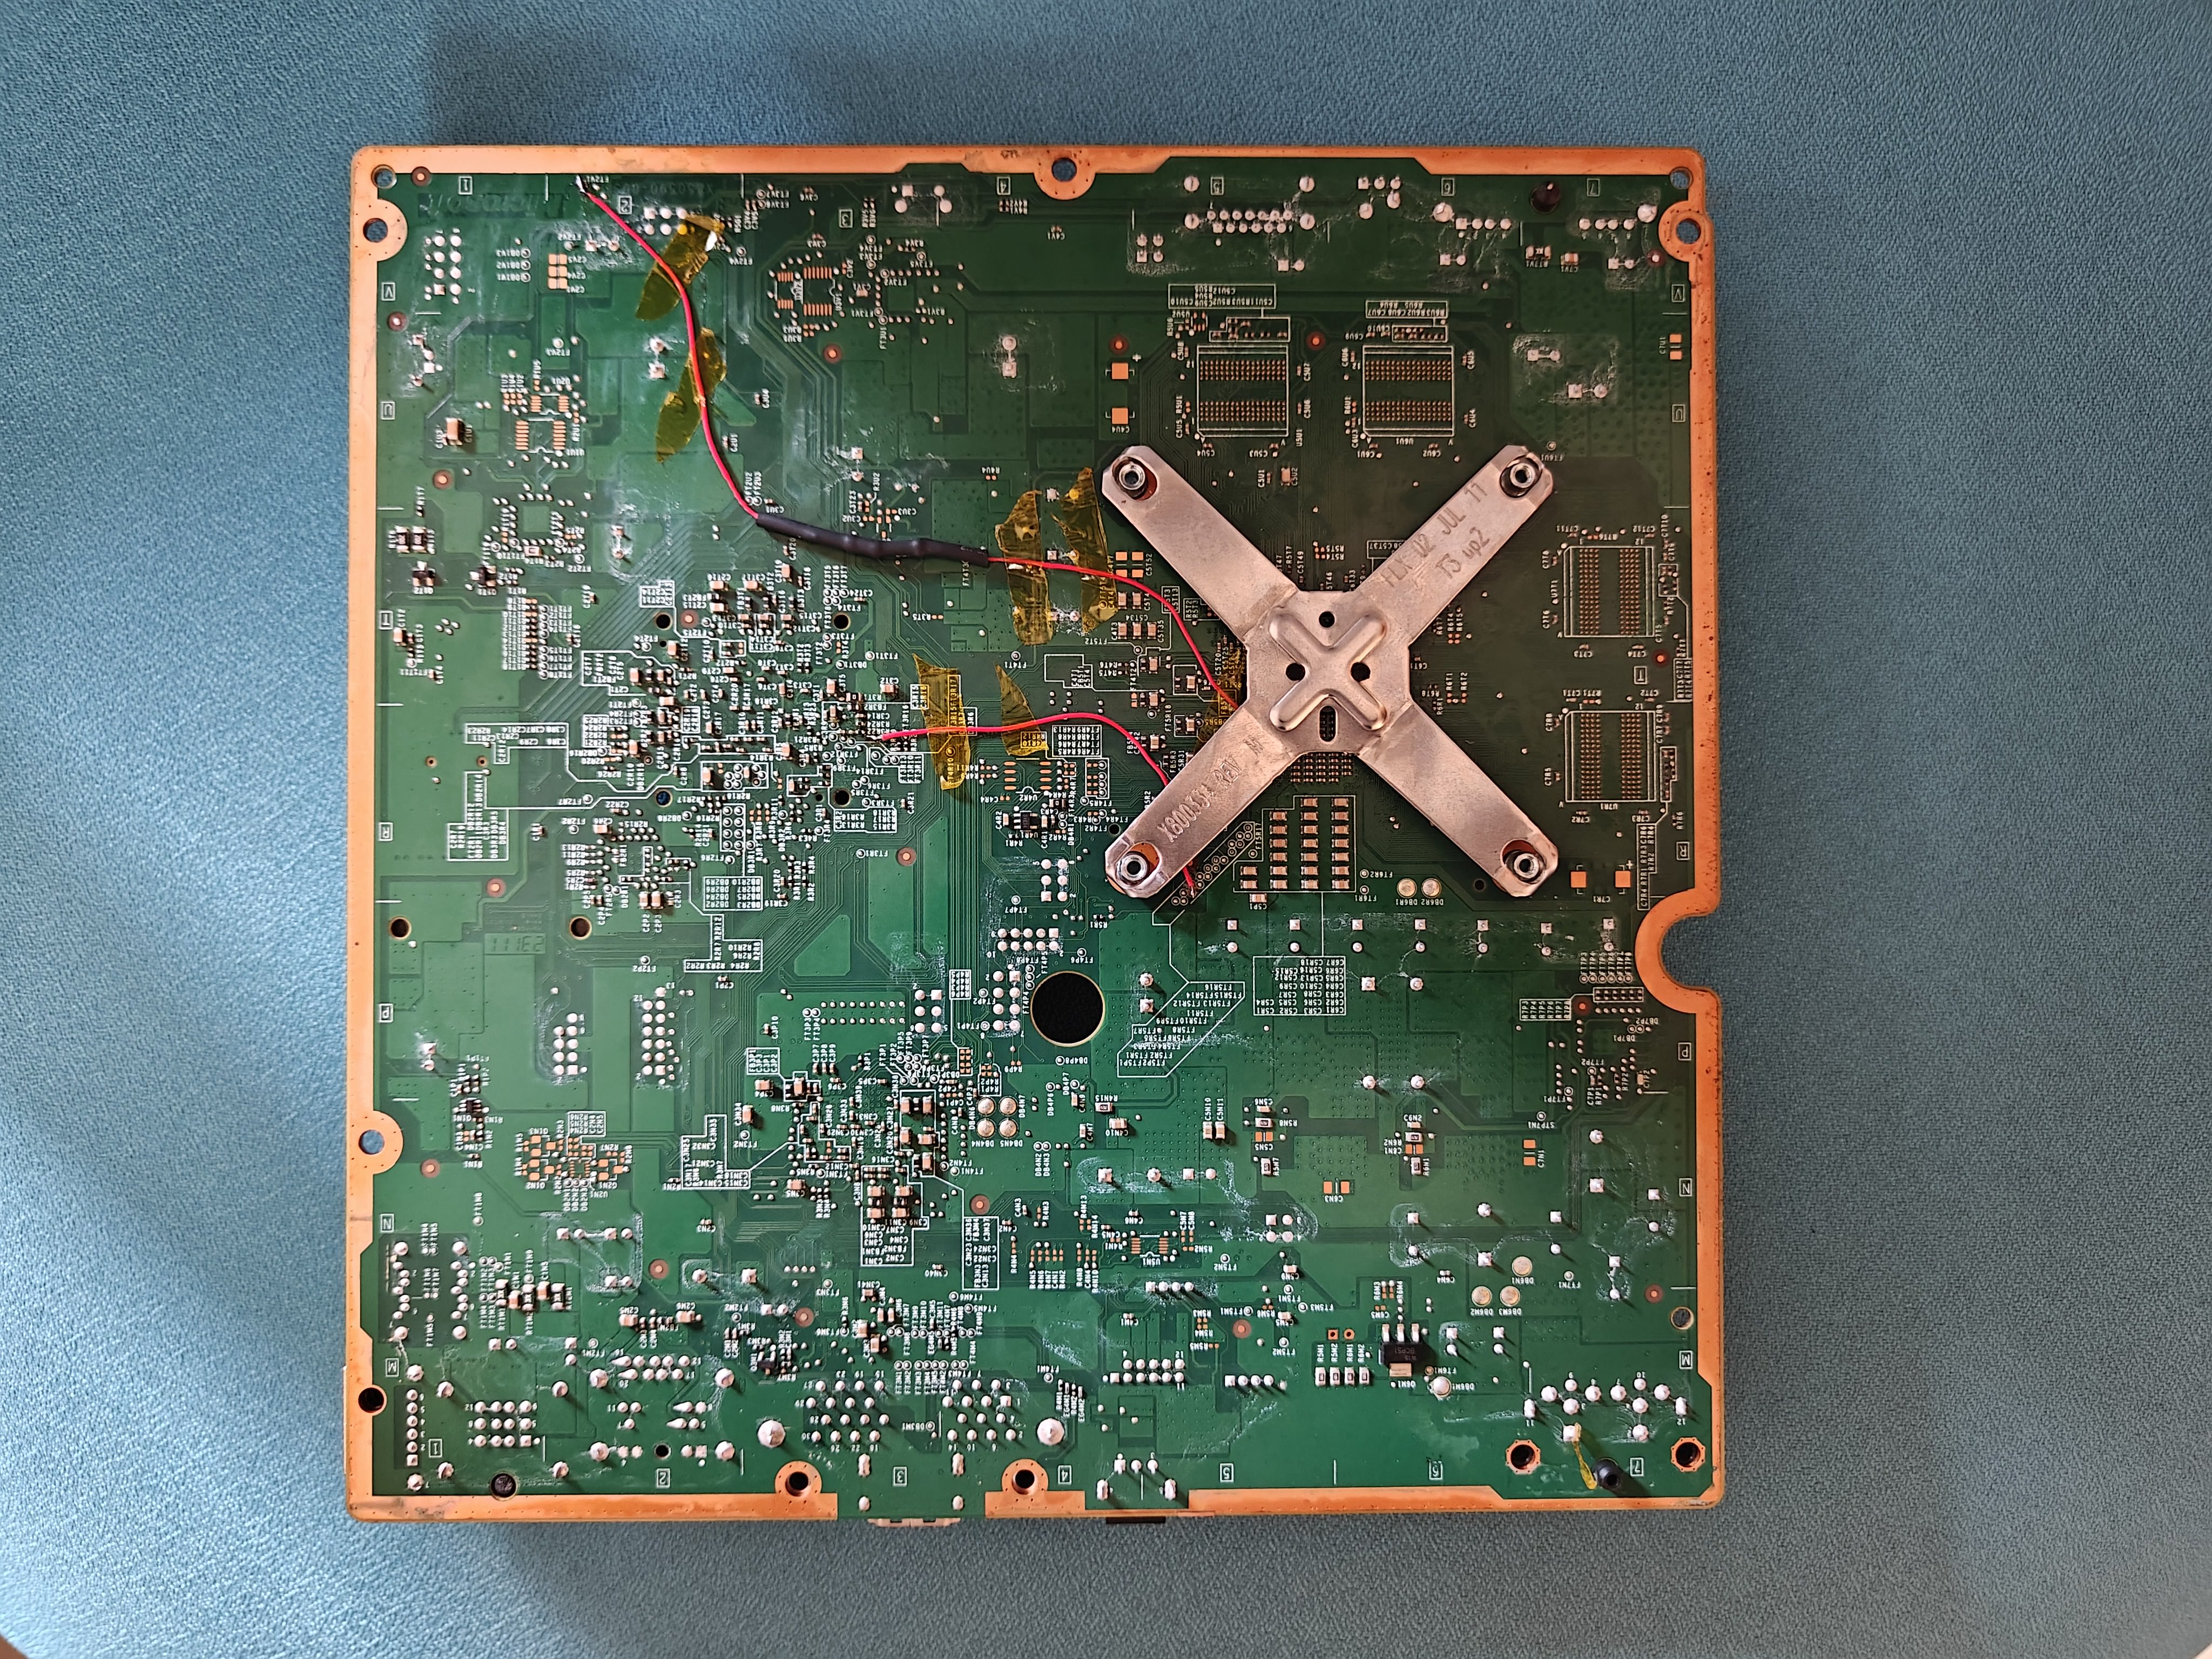
The third installation was performed on a Trinity motherboard revision. Compared to Corona revisions, Trinity boards are significantly more forgiving. Signal access is easier, trace routing is cleaner, and no POSTFIX adapter is required.
The complete workflow—from NAND acquisition to XeLL boot and final FreeBOOT installation—completed without complications.
This console also introduced me to the removable 4GB daughterboard, a design choice that differs from Corona's integrated storage implementation.
While technically simpler than the Corona installations, it reinforced the importance of maintaining clean routing, short wire lengths, and disciplined soldering practices regardless of motherboard revision.
Corona 4GB (Failing eMMC + POSTFIX)
PROJECT 04The most technically demanding console I've worked on was a Corona 4GB motherboard exhibiting multiple underlying hardware faults. Before beginning the RGH installation, the console already displayed symptoms of storage failure.
Even after issuing a complete NAND erase, the eMMC repeatedly reported itself as formatted upon subsequent initialization attempts. The behavior strongly indicated degradation of the onboard flash memory rather than firmware corruption.
Despite the storage issue, I completed the RGH3 installation. This remains the cleanest wiring job I've produced. Every conductor was cut to length, routed with minimal crossover, mechanically secured, and soldered using consistent joints with proper wetting and strain relief.
During POSTFIX installation, I initially connected to the incorrect POST pad—a mistake caught during continuity verification against the adapter documentation. After correcting the connection, the installation electrically matched the expected RGH3 layout. Yet the console still refused to boot correctly.